Monday, June 27, 2016

Make your own recycled min snacks

Aren't these cute? These mini snack packets were made from candy wrappers. With just a little creative folding, and some double stick tape, you too can make mini candy bar and anonymous snack packets for decorating your scrapbook page (good for themes on food and sleep overs), or using as props for your small figurines such as Barbie. That's just what I did, used them for small figurines and made a quick postcard with them (see the blog post Bionicle Snacks DIY).

Go ahead, have some fun and try making some mini snack packets of your own; I show how it's done in the video below. ^.~


Recycled Space Station Prop

Okay, it's taken me time, but here it is. An MOC prop that serves as a space station, but can also be a backdrop for hospital or lab scenes. 

The panel above shows the basic set up of my two sided prop, one side has padded texture, the other has mostly smooth paper, and the cupboards plus wire overhang addition can be moved and placed anywhere. The door really opens and closes, and the cupboards can have shelves and objects added to them.
The Space Station Visitors is the full collection of scenes to show how figurines fit in to the prop. There are many options. The door was made to fit Bionicle figurines specifically, but with creative angles, GI Joe and other figurines/dolls can fit. I made this set solely for photography and story telling (hope to share a video of the set and its options soon).

Above and below, main scenes of the space station side one and two. Side one above, side two below.

Process: It's incredible what the station is made of. all of it is based off of the center piece (a chocolate heart container from a Hershy's peanut butter heart candy). This center piece inspired an entire prop. The rest was made from part of a heavy duty cardboard box, which I then painted with white gesso, cut holes for my light spots and heart centerpiece, reinforced all rough edges with duck tape, glued on plastic packaging strips for LED light covers in the wall, taped and glued on scrapbook paper and covered the parts of the set with duck tape, or packaging materials, used plastic packaging for windows on the door and cupboards, wire overhang is made of twist ties and plastic string from packing. The cupboards are made from DVD mailing boxes covered with duck tape and are closed with brads and framing hooks, hung with wire on hooks made from paper clips.

Material: Heavy duty cardboard box, bubble wrap mailing package, plastic package twine and strips, inner cushioning from chocolate boxes, chocolate heart container, plastic packaging, scrapbook paper, white and silver duck tape, paperclips, wire, brads, DVD mailing boxes, framing mounts, and zip ties.

Unfortunately the process was so time consuming and big that I didn't make a DIY video for this.

Main scene side one above. Tahu and Galu chat, and Hahli just arrives.
Main scene side two below. The explorer sneaks through the ship and cautiously observes a set of cupboards, the alien creeper peeking at him through the door window.

A final special behind the scenes image is the creeper looking through the door, but with dark effects, so you feel like you're hiding in a dark room and this thing is looking for you.

The only battle scene so far is of the explorer having a stare down with the alien peeker.


Here's my newest video reviewing the MOC Space Station Prop. I include extra details that weren't shown in the main post and hope you have fun watching.

WARNING: I had to record hand cam style, if you have problems with motion sickness, sit back from the screen. I suffered from motion sickness by sitting too close to the screen while watching my video clips, hence resulting in me almost barfing. O_O Just FYI.

Recycled Headphones-Scifi Swing

Ah the wonders of broken headphones and a little creativity. I've gone through lots of headphones in my life, many of which have varied in style and quality. But, instead of throwing them out when they break, I prefer to keep them and put them to good use; in this case an old swivel set now serves as a hanging scifi chair (more specifically an odd swing).

I didn't have to deconstruct the headphones in any way to make this seat; I simply used a few safety pins, and wrapped its cords around itself to create this hanging chair, fit for any medium or small Bionicle figurine (or even non Bionicle figurines).

I show more of the chair in the following video, and give example of how it works. ^.~


Spring Album

Finally, after a few years of putting it off, I've made the cover for this paper bag book my mom started a long time ago. She worked on it for awhile, made some nice pages, but started thinking too much about it and gave it over to me. I added a few tags and extra embellishments, but didn't make the cover till recently.
 I used a cereal box for the cover, then used papers from my spring stack to decorate the book. 
 (inner pages are decorated with papers from the same collection)
 I added this extra strip to the back, inner cover; a result due to some damage caused by a crease, and using glue that dries quickly. Oh well, at least I know what glue to use next time.
 Here's a peek at the first page of this lively book. Curious for more, then visit here 

Silver Ignika Journal

(Shared from Pearllight Studio-Also not exactly a junk journal, but part of the journal category)

Yes, I'm sharing a journal post (been a long time since I did). Yesterday I spoke about this scifi journal on my other blog Silver Ignika Book. And as you may have guess, the book is in fact Bionicle inspired. Since it's a craft project though, it seems fair to share it on both sites.

I spent a lot of time during 2008 just designing the cover; made lots of sketches (find the sketch sheet and details on the other post). 

How the book was made: I didn't bind and sew together my own book, would have taken too much time considering I had to spend most of it designing the cover (and at the time didn't know how); so I purchased a small sketch book, then covered it with silver paper. I then hand drew my stencil design for the spine, front and back cover. Last step was wrapping my designs around the book, and embossing over every line, resulting in my final book cover.

It took me so long to do that I never put anything in the book, for fear I would ruin its pages and thwart the beauty of my first complex cover.... But lets face it, that's something to get past. Thankfully I have some future plans for this book; might use it as a fake journal, pretending it belongs to a character from one of my fan fictions.

Retro Cookbook video and pics

 
(Shared form Pearllight Studio-Not exactly a junk journal, but a journal book).
 
I made the quick video clip above as a flip through to remember the pages of the Retro Cookbook, consisting of October Afternoon "Modern Homemaker" papers and more. My mom bugged me for a few years to help her get this thing done as a gift for my oldest sister, and finally, after lots of pushing, I made some blank recipe pages and a few specialty pages in PSE, some sticker sheets and such, printed them out and helped get this thing done.
 
The basic book is a "We Are Memory Keepers" binder, nice sturdy covers that are easily cleanable, a good choice for the kitchen. Red is of course I good choice for retro. Below are some pictures of several favorite pages from the cook book which my mom did a good job on.
 

The paper to the left in above image actually reminds me of Irish coffee for some reason. Go figure being that the page beside it is of a woman with coffee.
I did some editing on a few scrapbook supplies. The list tag on the left page in above image had some extra words my mom didn't want there, so I went in and erased them with PSE, then printed out the cleaned tag.
I helped a little with the page on the left page above. It was a bit blank, so I drew out the little green chilli pepper and it did the trick of adding a perfect touch to the white chili recipe.
This page set up is one of my favorites. Note each page divider in this book is made from Modern Homemaker papers, given tabs, and then professionally laminated to ensure they're protected for years to come.
These two pages make me happy. Both of them are part of the blank recipe card pages I assembled using some frames and collected items, throwing them together in PSE (I may show the collection in another post). The red recipe page on the left was all basic frame work with added Modern Homemaker scrapbook elements I scanned. The right page is a specialty, being that the funny sombrero wearing chili man was hand drawn and colored by my brother, specifically made for the Mexican Shell recipe, and then slapped one of my printable scallop recipe pages. 
The right page above is also a special page, one which I had to assemble a sign label and comic for. This page contains hand written recipes jotted by my brother-in-law, and will be a treasure page for the oldest sister the book has been given to. 

The tab dividers were tricky, no tape or glue was able to keep down the labels made with a smash book label maker. I advised using black grommets on the plastic, and it was a success. Above is the tab display and a small close up of the sections.

Recycled Sparkly Heart Flowers Tut

(Shared over from Pearllight Studio-June 6, 2013)

Remember those large confetti hearts I made last summer? (http://pearllightstudio.blogspot.com/2012/06/posting-from-bucyrus-ohio-where-im.html) Well, here's a fun project I used them for, if you want to make a flower that's kind of like a rose, sparkly, and easy to make. So sorry this is an extremely late post; I intended to get this finished back in February as a special Valentine's Day project.... but unfortunately didn't. Oh well, flowers are in season whether they be made of paper hearts or not, and can still make great gift for any occasion. ^_^

These flowers serve as nice pins, or purse decor... I took some time to finally talk about them since I wanted to make the pictures look nice before uploading.


I went ahead and made several pink ones, a blue one, and a teal one. You can make your heart flowers out of anything you want, just as long as the paper is sturdy. I recommend using medium weight papers and scrapbook paper for these, so they hold up as pins and decoration.


 The teal blue one has a white tissue paper center, rather than being made of streamer paper. You can use whatever kind of paper strips you want for the center.


Have fun making your very own heart flowers, and hope you enjoy the tutorial video below.  ^.~


Batman Mug Book


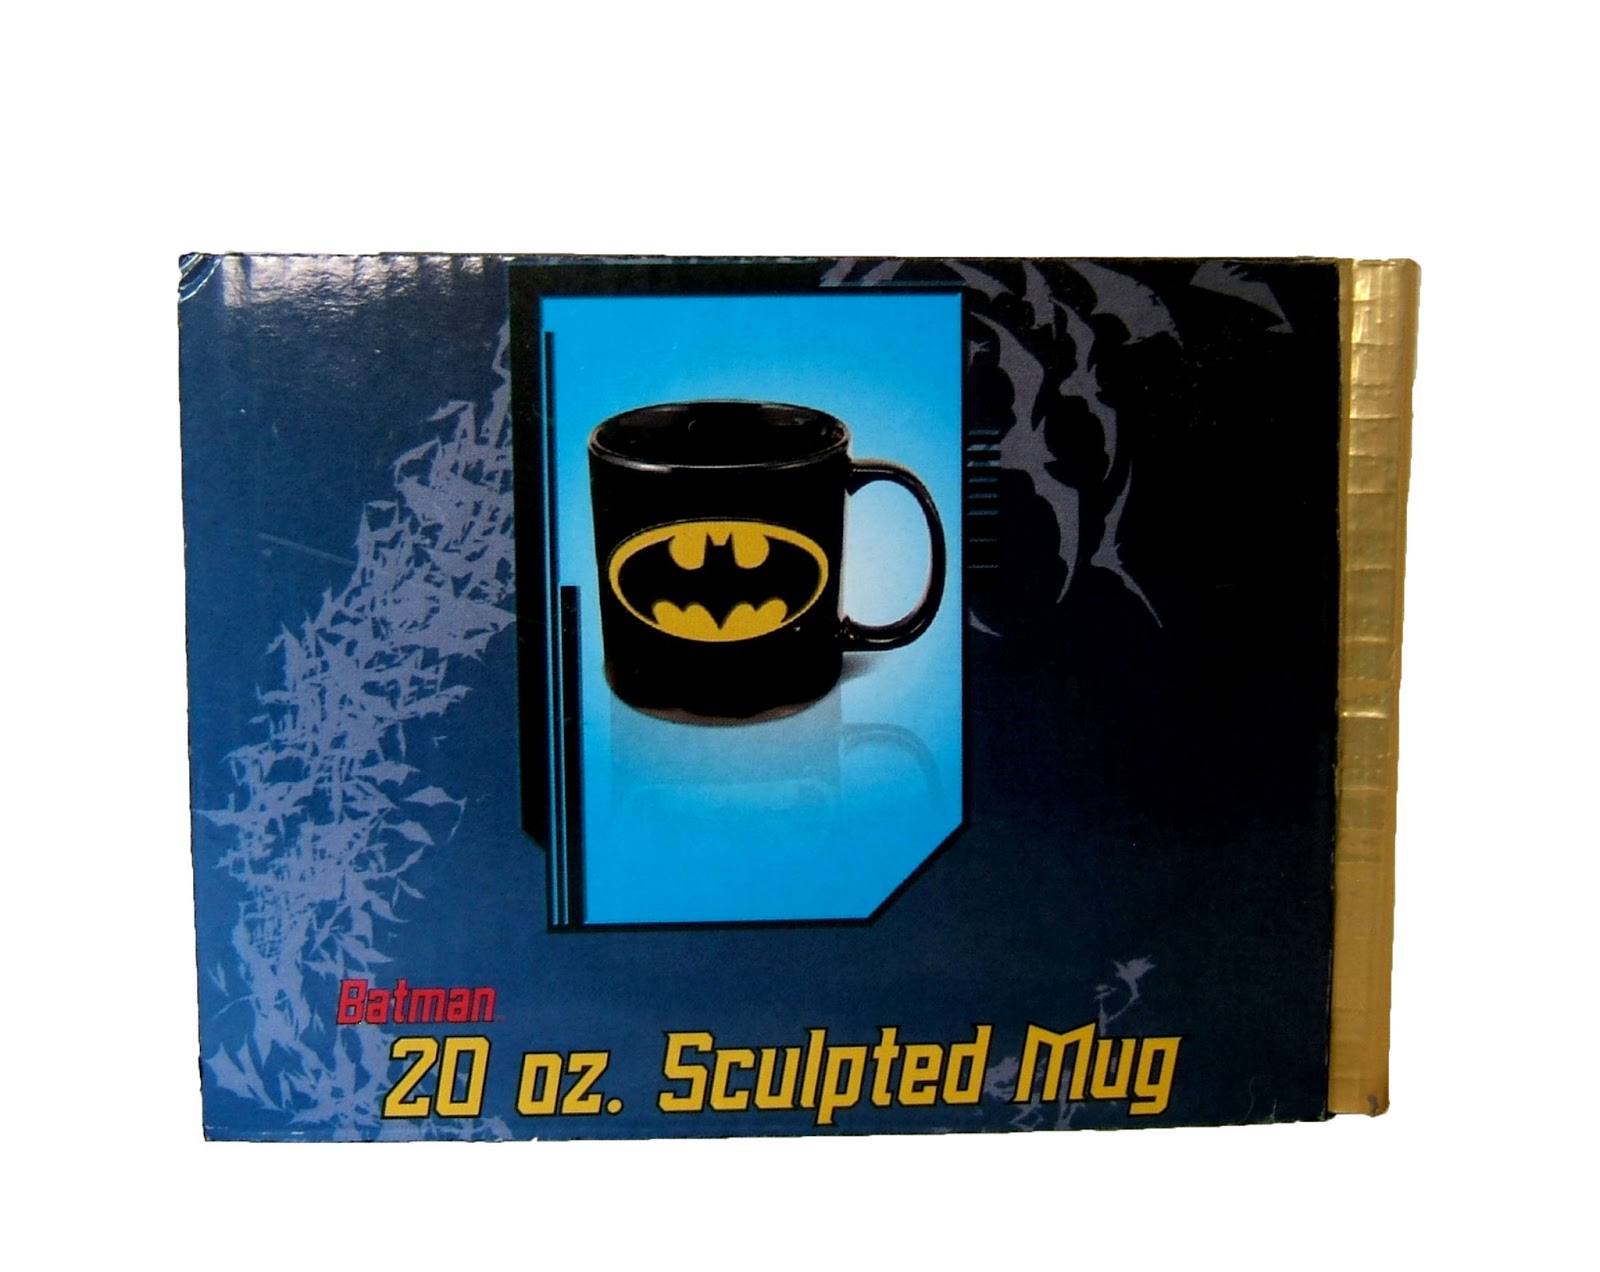
For nearly two some years... I do believe; I've kept this novelty box which once held a Batman mug. It was a Christmas gift for my brother; a practical joke, where we felt he needed a mug to go along with his Batman T shirt. I swiped the box when no one was looking, figured it was going to be discarded anyway, but I had an idea; and I went to sketch it. A few years later, and running a little late, I finally made the box into a novelty book as a birthday gift.

 Above is the basic sketch page I did in my idea book. At first I thought about painting a speech bubble over the words "Batman 20 oz. sculpted mug", and then write in the speech bubble, "I'm Batman!"; but I decided against it, and saved that running joke for a trading card instead.  I also sketched out the accordion pocket idea; that inspiration credit goes to my sister. I had to actually designs the pocket from scratch...didn't have a template, so I had to make one. In case you want to know; the pocket is made of textured yellow scrapbook paper, smooth cream colored scrapbook paper for the pockets, an off gold brad, and some black elastic thread.

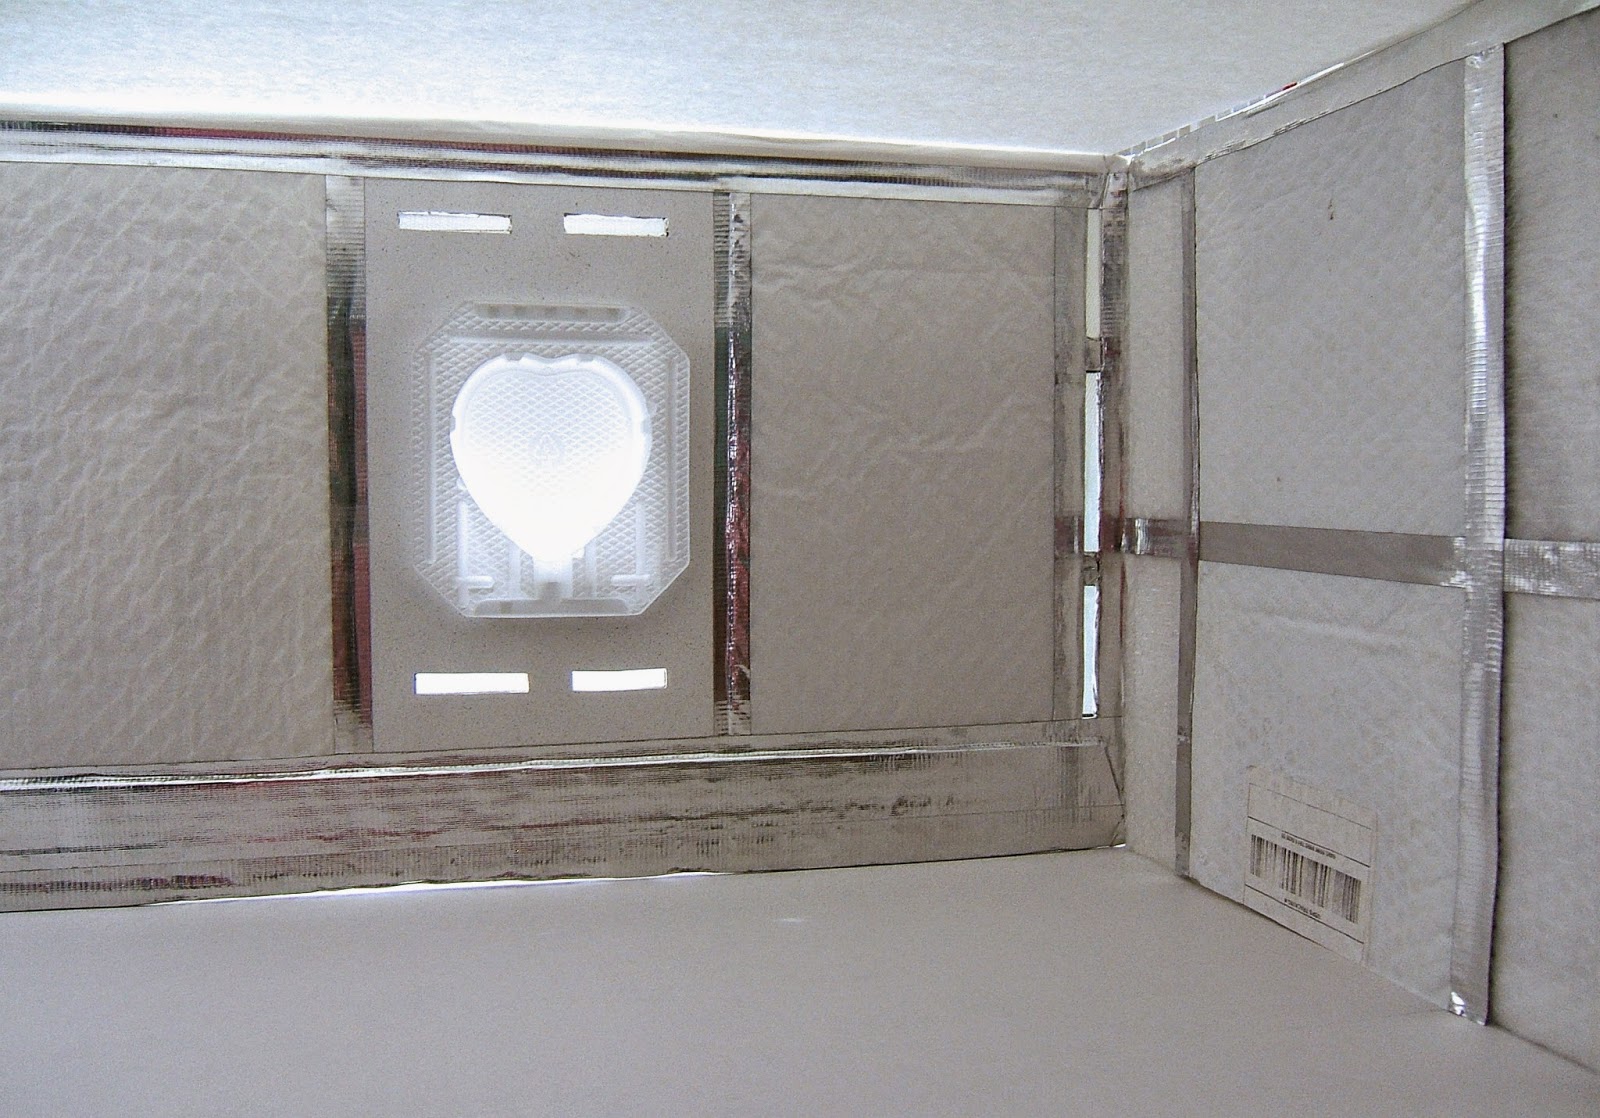
Something else you may notice is that I drew the book with spiral wires. Originally I was going to use my bind it all, but found that I couldn't use that method without destroying some of the cover; so I took the hand bound approach and made signatures instead, using the ribbon and cloth method. I made a base cover, then glued the boards to it, covered the spine with gold duck tape, and even ran black fabric paint along the edges of the box covers to hide that somewhat unsightly corrugated edge. 

Back on the subject of trading cards; just below is the collage sheet I assembled on Photoshop. I included the batman symbol for the front inner cover...and it came out too large; thankfully I had a smaller one already printed. As for the cards, I fit the images onto a 2.5 in. by 3.5 in. format in the program, and did a little tweaking. Two of the images were clipets from the comic book, and the other four trading cards were made with selected images from a movie comic poster for the 1989 Tim Burton directed Batman film; this is why there's a Joker card. I simply took the pictures, applied them to the small canvas, and put in my own text for that extra bit of interest. The last step was fairly simple; I printed them out on Photo paper at the highest quality, cut the cards out, glued them to black scrapbook paper backings, and laminated their fronts. They actually came out better than I expected.
 Trading cards and front symbol

And now for some fun, here's a video I did to show you the book fully finished.
Enjoy. ^_~

Full cover


 Front cover
Back cover

 Inner front cover and pages
Back inner cover with card pocket