Saturday, February 27, 2016

Chinese Moon Cake Journal

I finally created the Chinese Moon Cake journal, a week long project I tried to take my time on.

Created using a Chinese moon cake box for the cover, ribbon, thread, brown paper, drawing paper cut to size, scrapbook paper, craft tape, Asian food packaging, a Trader Joe's lemon bag, World Market paper bags, Chinese calendar box, stamping, and Liquitex satin varnish.
Enjoy the video and images. :)
I've had this book planned for a long time, just never knew how to tackle it, inexperienced in basic book arts when I first got this box. 

At one time it wasn't damaged, but later it tore along the lid and was saved for future plans.
 
The front of it is a piece of art in itself, Chinese moon cakes are special occasion sweets for certain Chinese holidays if I recall correctly. My dad got a hold of a box so long ago when he worked at a Chinese restaurant as the delivery guy. I vaguely remember the taste of the cakes, an odd rice dough that was sweet, but rubbery and chalky at the same time, the centers containing a cooked egg yolk. I remembered liking the outer part, but the egg yolk threw me off.

Even so, the box was beautiful with it's dragon....or Chinese phoenix, not sure which it is.
I kept the cover as is, liking the magnetic closure the box had. It looks interesting along the spine and closure side, measures around 8x14. I had to remover the box ends, and at one time the box even had a display holder of yellow satin which held the cakes.
 
Since the front of the cover had been torn away from the spine, I repaired the damage by taping, then sewing gold ribbon over the damaged seam, a way to accent the book and successfully cover up the jagged edge while holding it together again.
 
I also enjoy the metallic symbol on the front of the cover, shiny things always seem exciting to me.
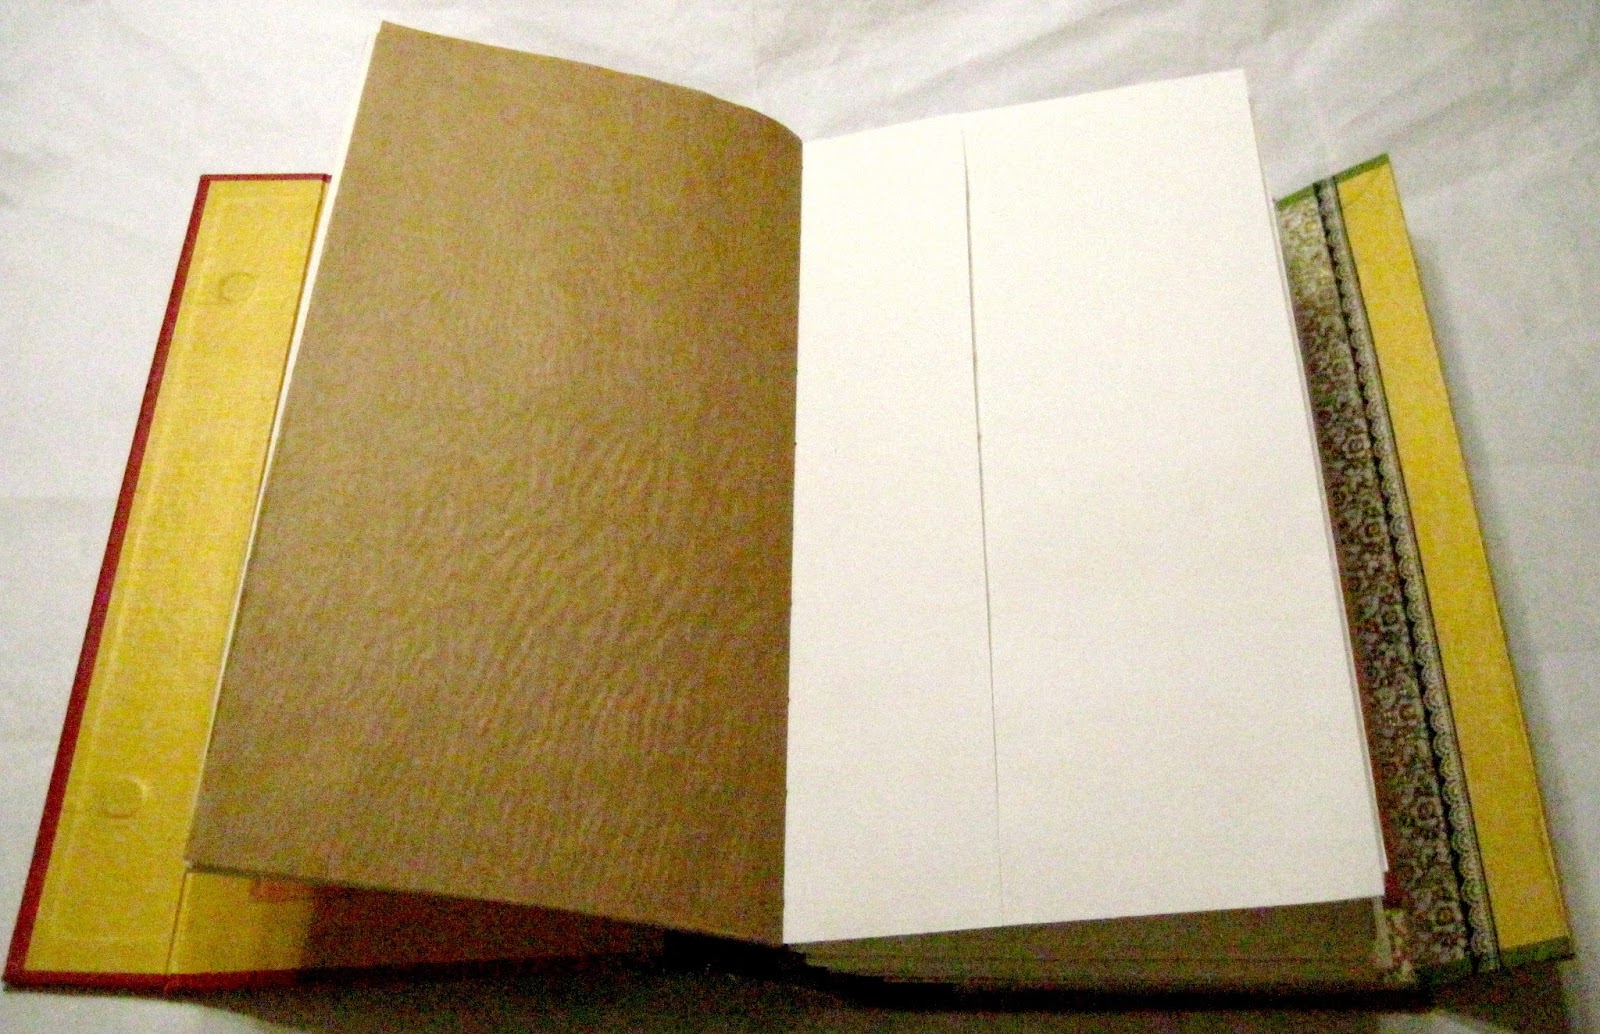
On the inside I added scrapbook paper to accent the yellow, and reinforced my spine with black ribbon. The book starts off with a tuck spot and place to write.
I glazed my scrapbook paper with Liquitex satin varnish before adding it to the inner cover. The tuck spot of the first page is made using a Chinese calendar box, seemed to make the book inviting.
Brown paper and drawing paper were used in the first signature. Only time consuming part of it all was having to hand cut my pages to size using a razor blade, since the pages were too large to cut on my paper cutter.
Tuck spots were formed on some of the pages so I wouldn't have to cut as much paper, and have some places to stick things.
this project was partly done to use up more things from my stash which needed to be chucked or made into something. I remember each of the sweets and why I liked them, hence my reasons for  saving the boxes.
Chocolate mochi is tasty, but kind of expensive.....
I backed the mochi box with speckled scrapbook paper, and added in a Trader Joe's lemon bag for color.
Yellow felt like it needed to be somewhere in the journal, so a lemon bag looks just fine.
More fun with mini books, I made a small add in using paper scraps, a wasabi box, brown paper, stamping, and varnish.

My other decision was to accent areas with blue, a nice color with orange.
World Market paper bags always make me happy, so I added a few.
Brown sugar mochi box with tag addition. I love the box art of this specific mochi.
More packaging, peanut crisps with additional note cards.
The note cards are made using a cookie box.
Since the book was tall enough, I got to use my larger mochi boxes for pages.
More green and orange color coding.
Many of the mochi boxes were originally made for a different project, later to be taped together and used in this.
As always, I like the brown and green colors together.
The back of the book was covered with varnished scrapbook paper and craft tape.
Metalic gold flowers and a big orange blossom seemed to go nicely with the existing themes throughout the book, so I'm happy and hope to one day fill the pages with pretty pictures and writing, bringing more life to the currently plain pages. :P

Friday, February 19, 2016

Homemade Jelly Plate- Painted Papers experiment

I've had the room and relaxation to play with paints and inks, experimenting with my homemade jelly plate and also experimenting with a bit of watercolor for a few planned illustrations. This is last nights experiment.

Ran out of drying room after eight textures were created and set them aside to dry. You can see at the other end of the table to the right I have another project going on, another big junk journal in the making, currently just a cover in need of signatures.
Each of my texture experiments hold an illustration in them which has to be defined, but I've already found ideas in the papers and hope to make illustrations out of them soon. 

The left image was created using acrylic inks on the jelly plate, transferred to watercolor paper. And to the right you can see my main watercolor experiments, the bottom image and the one above it painted with a brush. These are my planned illustrations in the making.
My first acrylic ink test is very vibrant and I love the way it turned out, finding there are a few things I could do with it. I hope to share the end results once I do make something from it.
 
Because I love jungle and woodsy scenes, I asked my brother to show me how to paint a scene, and the result was technically his painting. I wanted a jungle background for an illustration idea I hope to make for fun, the original watercolor possibly in line for keeping as is and used digitally for the picture I had in mind.
Final clean up papers (left) will become pictures as well. I used basic card stock to clean off remaining ink on the plate and this was the result. After all that I used paper towels (right) to clean off the plate, finding the ink looks nice on them too, so I'm keeping them as elements for illustration as well.
For the curious, here's what I keep my jelly plate in, an air tight Masterson paint container. Got it at A.C. Moore on sale, and it's proven to work very well for storing the plate.
 
The lid of my box had pegs which had to be sawed off (upper left corner), but it wasn't too much of a problem to do that. I keep plastic wrap under the plate for easier removal from the box.

Only thing I found is that there are small bubbles in the plate which catch inks slightly, but they didn't prove to be an issue during transfer, I just have to make sure the paper towel soaks up all pigment from them. tiny enough to be mostly insignificant to the process.

For those who would like to know how to make your own jelly plate instead of paying out the nose for a silicon one, check out A Glorious Experiment! jelly plate DIY post by Mixed Grill Favorites. 

Sunday, February 14, 2016

Mochi and Tea- junk journals

 Mochi and Tea.

I'm still breaking into my stash trying to tackle some more book projects, and finally decided it was time to use up the pretty mochi boxes I've been saving. so far I've made these two albums and have enough to make a third with extras, possibly to sell.

I had fun adding in extra things like green tea packaging of different kinds, along with small Pepero packaging. It's a book to heighten the mood of tea time in a room with sliding doors and silk paintings.....at least that's where I'd like to be while filling these books with stories. :P

Enjoy the video flip through and following images.

 Fronts above, backs below. I didn't change anything on my covers, loving the natural gloss finish they have. My favorite album is the one to left, the browns and greens make me happy. I used two different brad colors, an off gold for the sesame one, and a copper for the peanut butter one.
 Eyelets were hammered into place to hold the elastic band closure.

 They stay closed rather well, and the spines are immediately inviting on a book shelf. The sesame edition is a much thicker book, containing an extra signature and a few items that add bulk.

 In the peanut butter mochi album, the first page is a pretty yellow pocket with tag made from scrapbook paper and box tabs. 
The inner cover of both albums is a piece of cardboard with wrapping paper that's been sealed with Liquitex satin varnish. I also inked the edges of the cover with a black stamp pad.
 You can see thickness difference of the peanut butter one on the left verses the sesame one on the right. Both have items that vary.
 For the peanut butter album I added a red Peppero box that serves as a signature with papers inside. I thought it looked nice next to the yellow pocket.
 A little brown on the edge of a page to compliment the brown paper of the peanut butter album.
 The peanut butter album has three tags total with room for extra things.
 I love the sesame album for the main page, a green tea bag with metallic gold on it. This specific kind of tea is very pleasant in taste.
 I carried the green tea and its color theme throughout the book.
 Added a little more green in with a grocery list. Fun thing about the lines going vertical instead of horizontal is that Asien writing can be written this way.
I carried the green and gold scheme and added a ginger tea I like.
The tea box was made to have a pocket for holding a tag.
 Yellow, gold, green, and orange, complimentary colors side by side.
 The jewelry bag was just the right peach color with green flowers, makes me happy and fits the theme.
 I'm glad I remember I had a green Peppero box in my stash, already painted and pocket ready, so I added that in.

 You can see the sesame book contains more tags and includes a small booklet.
The booklet happens to look like a green tea bag. I varnished this wrapper and glued it to some card stock cut to size, creating my little booklet with scrap papers from the project, then gave it a green thread closure.