
Starting from November fifteenth through November twenty-eighth, I began what later became a little something I call the "waste nothing challenge".

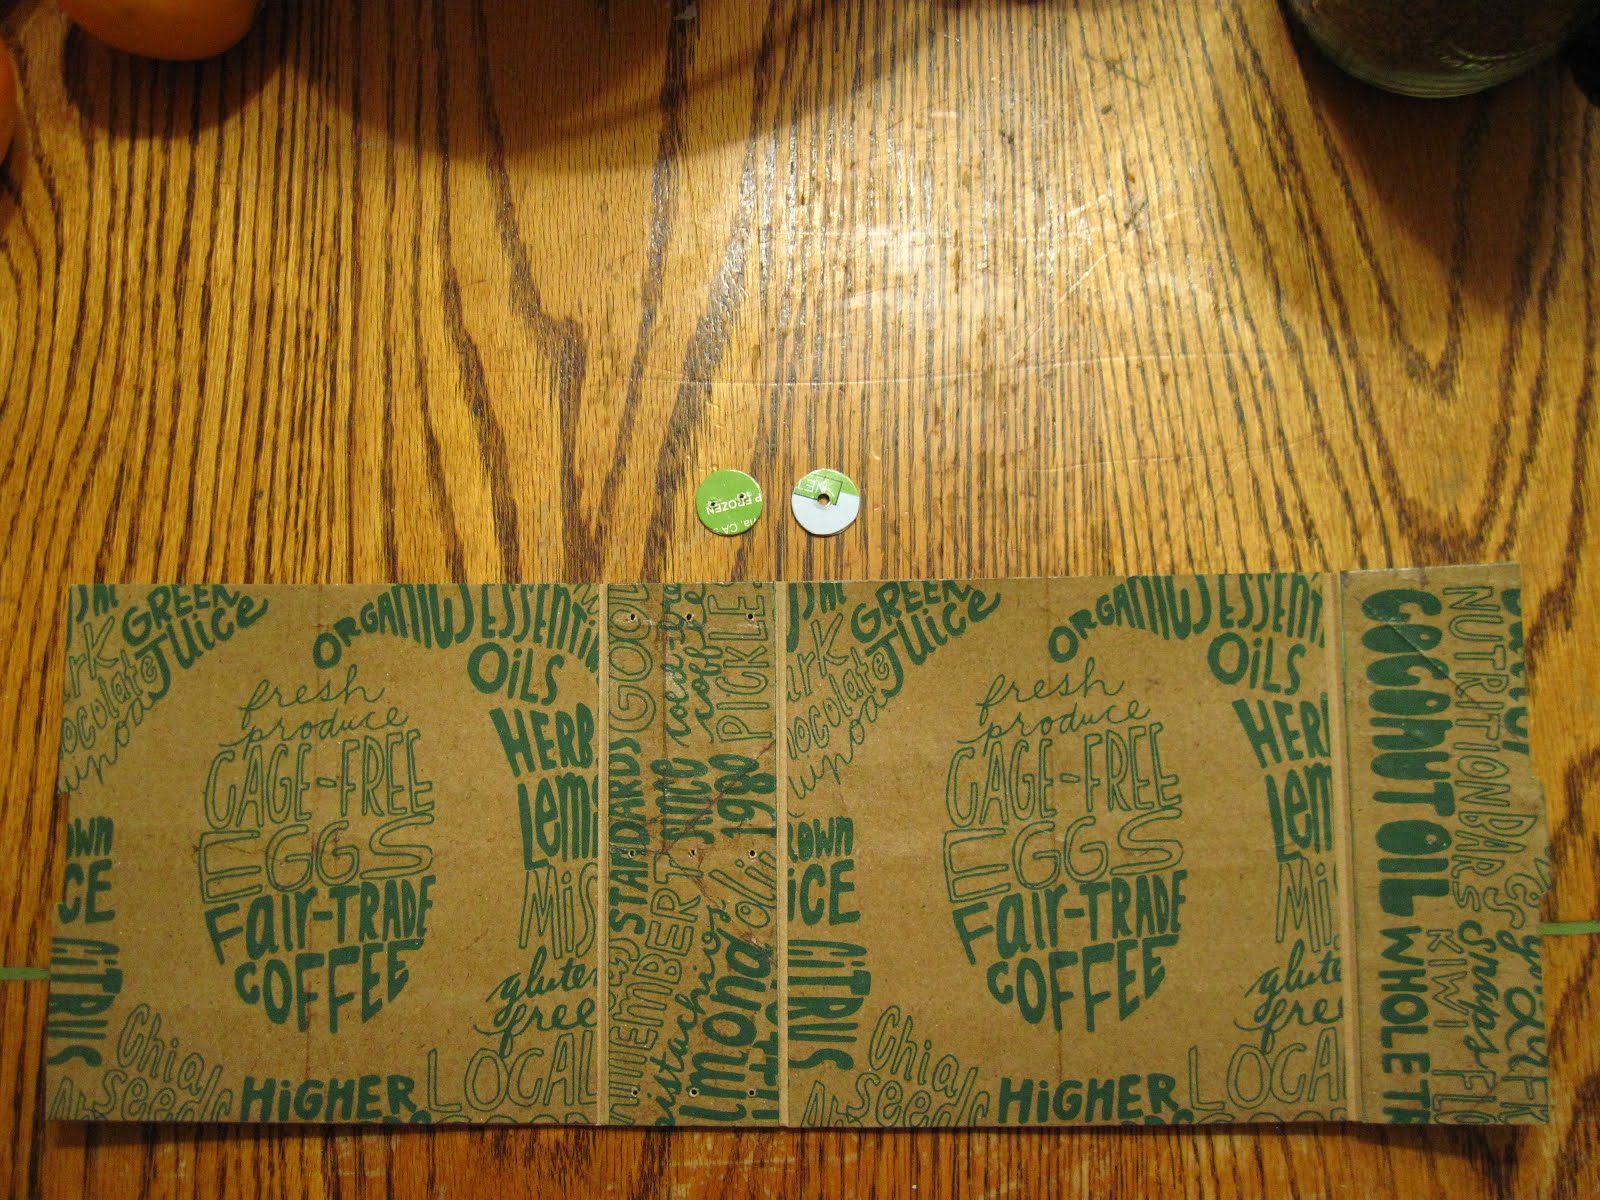
 As mentioned on the post of November 15'th, I got my hands on some green cardboard, packaging from a Linkyo diffuser box. This green cardboard soon became something more, and I began to call it the "Lime Grocery Journal". How I came to that name is a bit silly, based off the color and contents of this book.
The lime green color was a big factor, but also relates to the tags I made for it of different lime green shades, including tags that have images of limes on them.
Alongside that, the grocery bit is solely based off the fact I used paper grocery bags to create my signatures.
The following is a collection of the days spent on making the Lime Grocery Journal and then some. My waste nothing challenge composed of more than just the creation of a journal, it helped me stretch the limits of my imagination as I created multiple items from every scrap of the main project (the main project being the book itself).
In the end I found ways of using the scraps for creating tags, small collages, cardboard buttons, fake postal stamps, book tabs, miniature flag garlands, and even homemade confetti for shaker projects.

(Nov. 18, 2016)
For days I've continued work on what I'm now calling the Lime Grocery journal. On the 18'th I took pictures of the cover with now glazed and glued down elements both inside and out. I wanted to show what it looked like before the pages were sewn in.
I finished poking holes, adding my closure, and binding the book on the same day.


My closure connects onto the folding flap which covers the side. I
created two cardboard buttons for this, neither perfect since I had to
fussy cut my shapes. I kept the green one as is and covered the other
button with paper. The reason they have different holes is because I fed
the elastic strands through both sides of the internal button, then
through the single holed button on the outside before tying a knot and
creating my elastic loop.
More about the closure and completed journal will come after I'm done making tags and small goodies for it.
I've also made a video on the process of this book as a way to remind
myself of different techniques I've discovered while working. This isn't the first time I've made journals from paper bags, after all. I find
making videos for personal reminders is rather relaxing, and quite helpful.

(Nov. 22, 2016)
It's all about green.
Can you tell what color my current project is all about? It's all about green, my favorite color scheme, and this has been the craft desk for the past week. I've continued being dedicated to challenging myself in creating accessories for the Lime Grocery book, working away through the scrap pile which seems to never end as I find extra green packaging to use for tags and tucks.
Accent colors of the book have come from the mix of scraps I've tossed in the pile, the colors ranging from several shades of green, some dark brown, and a bit of red thrown into the mix, all somehow matching in some way.

Finished tonight using the very small scraps in the pile are these two
illustration tags. Lemon grass started as just a grass cluster made from
green cardboard strips, but after adding my title and a brown strip of
paper for dirt, it felt like it needed fruit slices. This led to me
cutting up another Popsicle box for the clip art, the rest of the box
becoming yet another pile of scrap for tag making.
The green boot started as a piece of brown paper which looked like a boot, and tiny scraps of paper that looked like lace. With excess paper scraps, marker, and jell pen on a letter stencil, I made a small shoe tag for a mythical company called O Hara leather Co.
The reason I chose the name O Hara is because the green boot reminded me of Irish ladies, and that got me thinking the green boots are lucky.
Both of these scrap collage pieces were a spur of the moment project, and as I worked on it I started asking myself why I was doing it, something I try to remind myself not to do (doesn't help to overthink an art project).
It came to my attention that these tags may not make it into the book, seeing I put more dedication into them than expected, and I like the way they turned out as art pieces. I may instead scan these mini images and make them into prints for the book. I plan to keep the originals separate because I put too much care into making them.
Granted, a scrap collage may seem like a waste of time, but look what it got me, two illustrations that can be turned into printables as part of some possible future project.
On the side I still have lots of tags to make, and also several cardboard buttons to include in the accessory kit for the book. A whole doorway of exploration has opened during this project. I've made everything from scrap collage stamps, cardboard buttons, tags of all kinds, a few envelopes, and slip in cards.
I've found ways of using every scrap of interest for even the smallest of details in decorating and accenting, but I'm starting to realize I need to be careful since I'm starting to feel that sense of burn out again. I don't want to lose what feels like creative magic which is keeping me driven, excited, and care free in my day to day living.


(Nov. 23, 2016)
Last night I continued work at the craft desk, still racing to use up
every scrap as part of the waste nothing challenge. The artist trading
cards came first, made from scraps of a Popsicle box after using
most of it for tags and collage. I built upon some plain white scrapbook
paper which I cut to size, then brought the frames some life with
stamping and marker.
Second thing I did to use up very small strips, was create an odd planted
pot collage. It looked like bamboo, but it can be a number of things,
possibly an alien plant similar to bamboo. The page felt empty though,
so I added a label to make it appear as a notebook cover.
This decision may not have been the greatest, and I plan to crop the image digitally so I can have a notebook style, along with a basic card of just the plant without a label.
I still have more to go on using up the scraps. Banner garland with
flags, sanding and hole punching on the paper buttons, and a shaker for
the Lime Grocery book are next.
Once I'm done playing with the scrap projects, I hope to scan some of my creations, specifically the trading cards, art tags, and scrap collage pieces. I might also scan the banner garland as part of a print out experiment for producing more of the same designs.
Once I'm done playing with the scrap projects, I hope to scan some of my creations, specifically the trading cards, art tags, and scrap collage pieces. I might also scan the banner garland as part of a print out experiment for producing more of the same designs.

(Nov. 24, 2016)
Continuing the subject on my use of scraps, I got to work on creating
the banner garland last night after dinner, and completed the rest
today.
Shown above is the starting stage of last night after folding scraps of brown
paper bag strips, and stamping them with different designs. I stuck
to using ink colors that matched the colors of the Lime Grocery journal,
ranging from black, green, and red.


Part of me has been inspired by Asian designs, and I let that influence
my flag themes, knowing these little banners will look great in a book
or miniature setting.
I might make a video on all the banner garlands you can make, but first a
reminder to myself; I chose to make my flags double sided and straight,
stamping one side while the piece was folded, and then flipping it over
and repeating the process.


Another thing I used to create some flags are the tabs of a box. The
smaller pieces couldn't be assembled the same way as the regular tabs
because they needed a hinge to hang on the string.
I might call this method the central hinge fold, where you take a strip
of paper, fold it in half, cut it to size width wise of your chosen
objects, and glue it along the seam of your meeting ends.
This method is just a way of holding together two objects at a central point which can then be folded.

For paper pieces long enough, a central hinge fold isn't needed. I
experimented in making a set of flags out of even the oddest of ends, in
this case a tab with printer color blocks on it.
All I did for this was the same thing I did for all the other flags,
bent the paper till the ends met, and creased the middle. I call this
the half fold, which results in a double sided flag that looks fine from
either side.
The half fold and the central hinge fold are methods to use for creating
double sided garland banners. There are multiple other options which
can be used to create garland banners that I hope to list and create a
video for. The video would be like a personal library thing for me, an
art document basically.
If you're going for one sided garland, the quarter top fold will do.
This kind of fold is useful for larger garland projects, or for using
when your chosen paper is too short to fold in half for a double sided
design. All this fold is, is basically a small crease made at the top of
the shape, which you then fold down.
This method can be used in a similar fashion to that of the central
hinge fold. You can create your quarter fold, bend it down to create
your crease, and then on the other side you can glue another piece of
paper to decorate the back side of your shape (not sure if any of that makes sense).


( Nov. 25, 2016)
This evening I got
back to work on my miniature garland banners. I chose my thread color,
in this case black cord thread, stretched it out on my desk, and taped
the ends down to keep it taut while I added my shapes. You can see on
the left how the double sided shapes are folded in half, and all I did
to finish it was choose where I wanted the shapes to hang, added glue to
one side and the crease, then folded the other side over and pressed it
in place.


This resulted in a whole menagerie of garlands made from paper scraps
which I stamped for interest. My favorite is the one with the fish,
reminding me of something you'd see at a fantasy market during a
festival.


To the left you can see how the box tab flags turned out. I find this to be a fun, and charming way to use odd scraps.
I also added to the rooster flag garland (right), finding I left too much of a
gap between the red flowers and the central flag. It was an easy fix,
with just a few smaller flags stamped with green, I lessened the gap so
the line wouldn't hang as oddly.
I thought of multiple methods for creating different kinds of hanging
garland banners for miniature scenery, books, and even real life
settings for the fireplace mantle. Garland making is extremely simple,
and can be made from any shape you choose. I will note that you have to
position certain shapes differently on the line depending on how you
want them to hang.
For hanging you can use everything from string, cording, ribbon,
elastic, and even chain of your choice. You can also use the method of
shape connection using brads and eyelets. The methods for creating
garland are the same for large projects as they are for small.
For tacking methods you can use glue, double stick tape, staples of any color, and even sewing.
You can make your shapes out of just about anything as long as it's
foldable and glueable.
Flat papers with stamping or decorating of your choice works, scrapbook paper both single sided and double sided, flier papers and product packaging, tissue and crepe paper, origami paper, junk mail including security envelopes, and even washi or any form of craft tape including patterned duck tape can work.
Granted, some of those things work better for smaller sizes like the minis I've made for books.
The uses of basic garland structure are kind of interesting. On a large
scale, garland can be used for party and mantel decor, but on a tiny
scale they're great for pop ups, book page decor, miniature scenery for
still life photography, closure accents on the outside of a book, paper
charms for hanging from the spine of a book or as a book mark, and even for
using as silly paper jewelry (if it's flat enough), that can be tucked away into a book.
You can use the garland to make a necklace, a bracelet, or a circlet,
and you can even make the shapes into solid charms using board and thick
glazes to create faux chip board charms which can have holes poked into
them. Those charms can then be hung from jump rings and chain,
essentially a heavy duty garland.

(Nov. 28, 2016)
Currently I have this part of a city scene on scrapbook paper going on,
but I plan to add some water waves and a boat hauling trash.


Speaking of confetti, I finished creating my second shaker for the Lime
Grocery book tonight. I figured the confetti video needed to show how I
used the recycled confetti I created using different techniques. The
turtle seemed fitting for it.
(Created during Nov. 28, 2016)
The other simple video I did was on making your own shaker confetti from
the most basic of paper scraps. It was of course made as part of my
waste nothing challenge while making the Lime Grocery book.
I may continue the waste nothing challenge whenever I'm in the mood, finding the amount of ideas I get in a sitting are incredible when I just relax and ask myself what all you can do with trash.


I also want to remember the secret I discovered on creating page tabs
out of box tabs and anything else. Like anything, if it's long enough
you can fold it down the middle and create a shape which then can be
glued to the edge of the page.
In the case with box tabs, they both have the same shape, but are
separate pieces. To make them into a book tab, all you have to do is
glue them together with a hinge fold, as shown above.
Later I'll be sharing the completed collage works that came from this challenge. Hopefully I'll also have a post on the actual journal itself with free print outs of its scanned accessories.
Later I'll be sharing the completed collage works that came from this challenge. Hopefully I'll also have a post on the actual journal itself with free print outs of its scanned accessories.
No comments:
Post a Comment